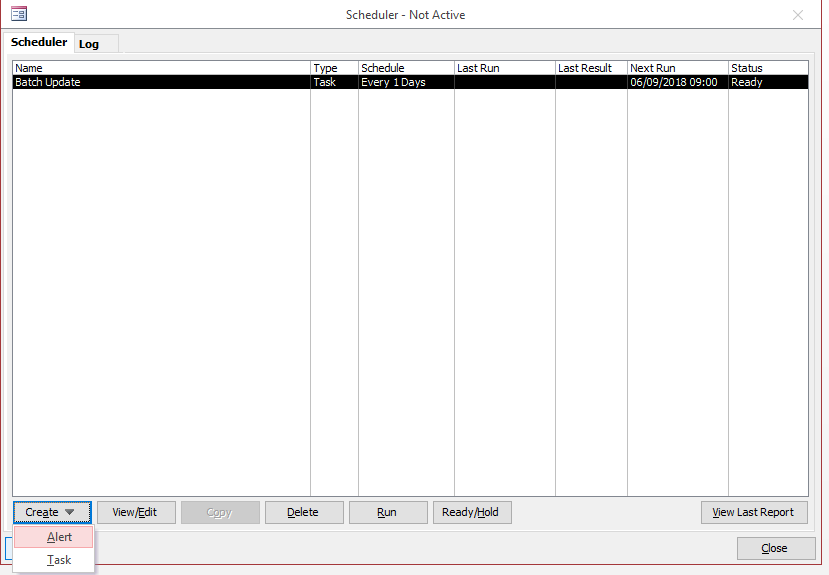
Go to System > Utilities > Scheduler

Click the ‘Create’ button and then Alert
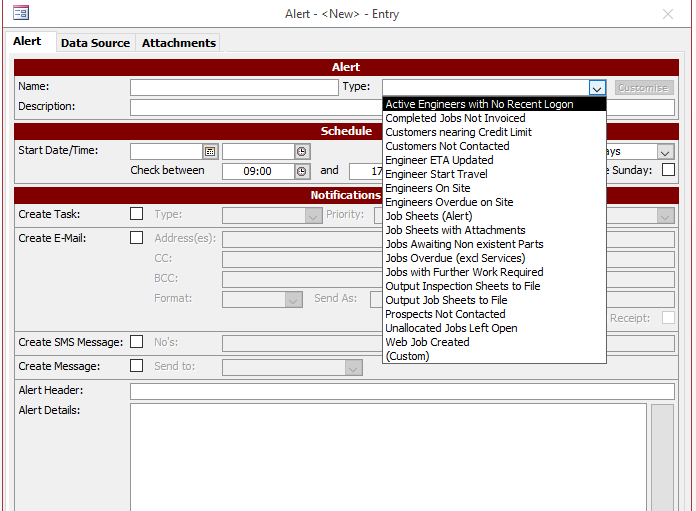
The Alert section of the Scheduler will open. Using the drop-down list ‘Type’ on the right-hand side select which preset Alert you wish to use.
Once selected the Name and Description will be populated. Select the Start Date & Time, the hours between which you want this Alert to run, how often you want the check to be repeated and whether you wish the Alert to run at weekends.
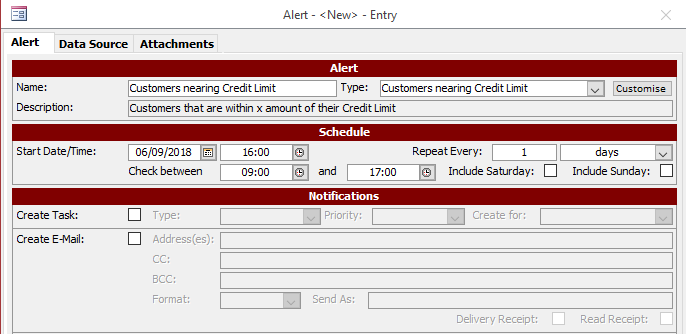
You must then choose what you want to happen when the Alert selected is triggered. You can choose between having the system create a Task, of specified Type & for a specified User; you can send an external email to a known address, group of addresses or even addresses held within the system as part of the Alert; or whether you would prefer an internal Protean message.
Below this you will see that Protean has populated the Alert Header & Details automatically as you have selected a preset Alert. This is the text that will be messaged or emailed to the recipient.

The ‘Re-Notify’ option allows you to specify how often you require the system to re-notify the recipient if the Alert situation is still in operation. Then select from the drop-down list the user you wish to be notified if there are any problems with the Alert.
Click on the Data Source Tab.

In the top half of the screen you will the SQL that performs the query for this Alert. Below you can amend the parameters for this Alert. In the above example it is going to look for customers within £500 of their set credit limit. If you require a different interval you can type it in the Value box here.
Click ‘Close’ at the bottom of the screen. The system will ask you if you wish to mark this Alert as ‘Ready’. Click ‘OK’. You wil be returned to the summary screen and your new Alert will be listed.
